In this chapter you will learn how to create your own libraries. The basics of libraries are explained in "Projects and Libraries".
Manage libraries
The main menu leads you to the Antares library management window.
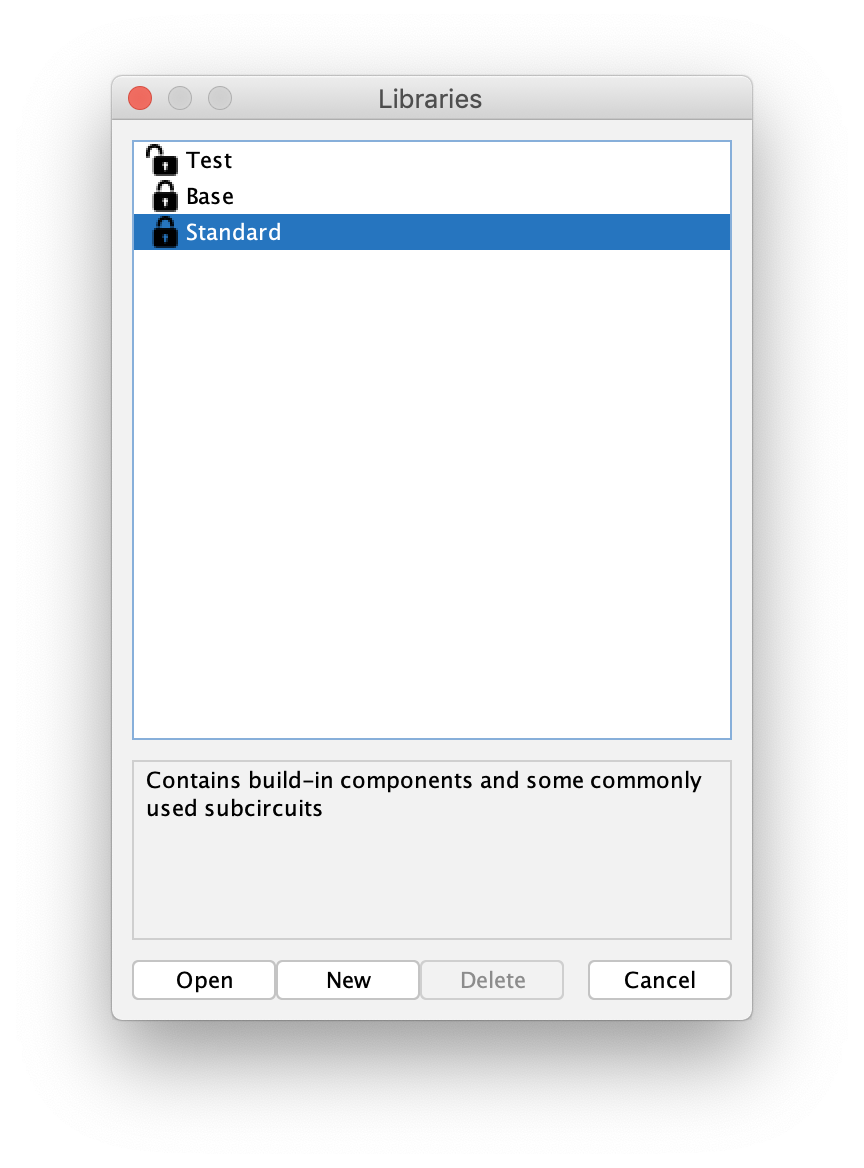
The table shows all libraries available on your computer. These include the "Basic" and "Standard" libraries provided by Antares, as well as your own user libraries. The lock icon in the table indicates the type of library: User libraries (in the example "Test") show an open lock, while the built-in libraries, which you cannot change, are shown with a closed lock.
After selecting a library, the description of the library is displayed below the table.
- Open
-
Opens the selected library. This action is useful if you want to create a new project based on the selected library afterwards.
- New
-
Creates a new library. Besides the name of the new library, an already existing library can be selected to be added (to be a base of) the new library.
- Delete
-
Deletes the selected library. This action cannot be undone. If you have projects based on the deleted library, these projects will no longer be usable.
- Export
-
Exports the selected library to a .acl file (Antares Circuit Library).
- Import
-
Imports a library from a .acl file. Importing can fail in one of the following situations:
-
Invalid: The imported .acl file is invalid, i.e. it was probably not created by an export from Antares.
-
Name already exists: Since the name of a library must be unique, Antares rejects the import of a library with an already existing name.
-
- Note
-
Starting with version 1.3, you can also import an .acl file when starting Antares. If you associate .acl files with the Antares application on your operating system, you can double-click on an .acl file to import it automatically when Antares is started.
Change properties
With the context menu Properties on the library in the workbench you can change the name and description of a library.
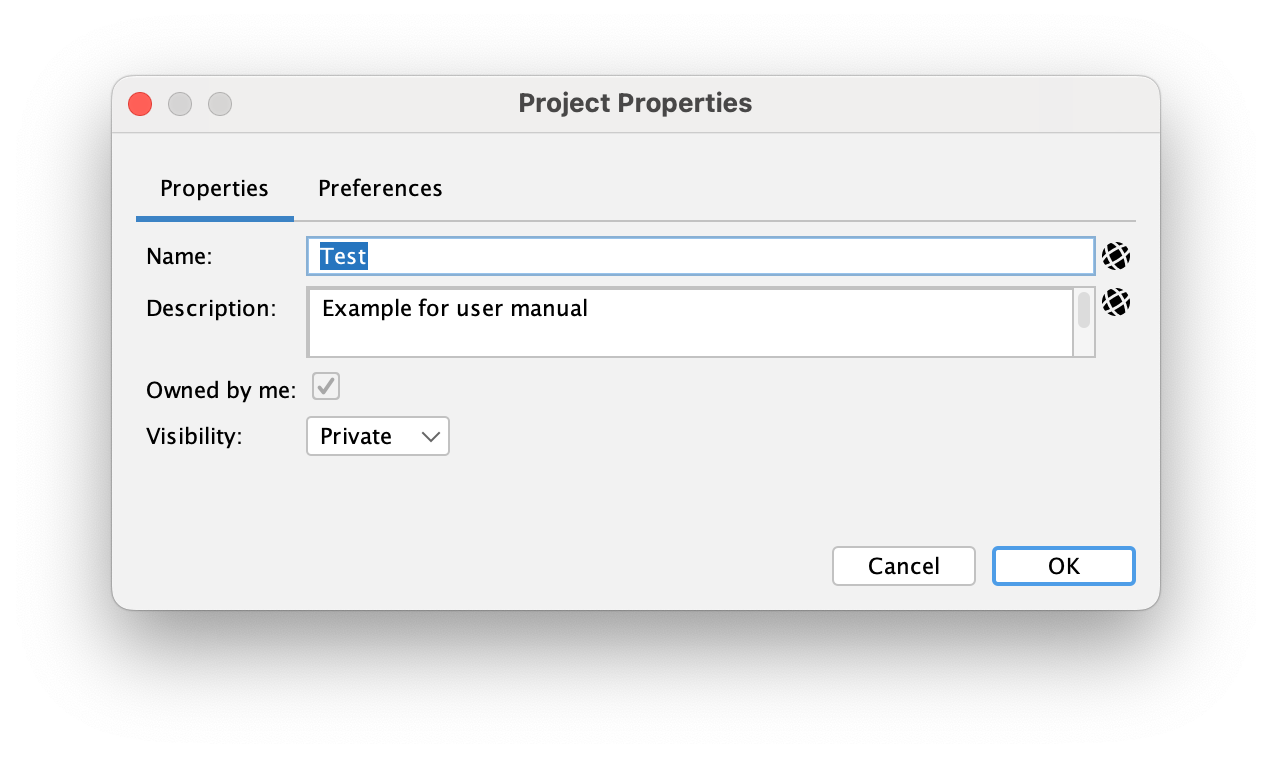
Both texts are internationalized, i.e. you can enter texts in all languages supported by Antares. The description is mainly used in the "Libraries" window.
The tab "Preferences" contains user preference value that are copied from the user preferences and stored in the library. These are mainly values that have an influence on the behaviour of a circuit during simulation. If a library was designed based on values in the user’s local preferences, chances are the circuits don’t behave as expected after the library has been exported and imported by another user.
You can also change a library’s "Preferences" to use values different from your normal preferences, without having exporting and sharing in mind.
Ownership
The property "Owned by me" indicates whether the current project is owned by you. This is the case for all libraries and projects you’ve created yourself. You can only edit projects and libraries (and the circuit contained in them) that are owned by you. This prevents you from accidentally altering imported libraries and projects, since your changes would be overwritten once you re-import the library.
However, there are situations where you want to change an imported library or project nonetheless. In such a case, you can select the "Owned by me" checkbox, and Antares will transfer ownership of your local copy of this library/project to you.
| If a library/project is already owned by you, the checkbox is disabled. There is no way of "giving up" ownership of a library/project, since Antares wouldn’t know to whom ownership is supposed to be transferred. |
Edit library
Editing libraries allows to copy circuits from an existing library to on of your own libraries. This can be useful if you are a teacher and want to compose an exercise for your students that asks them to build a circuit from a reduced set of component.
The context menu Edit library opens the window shown below.
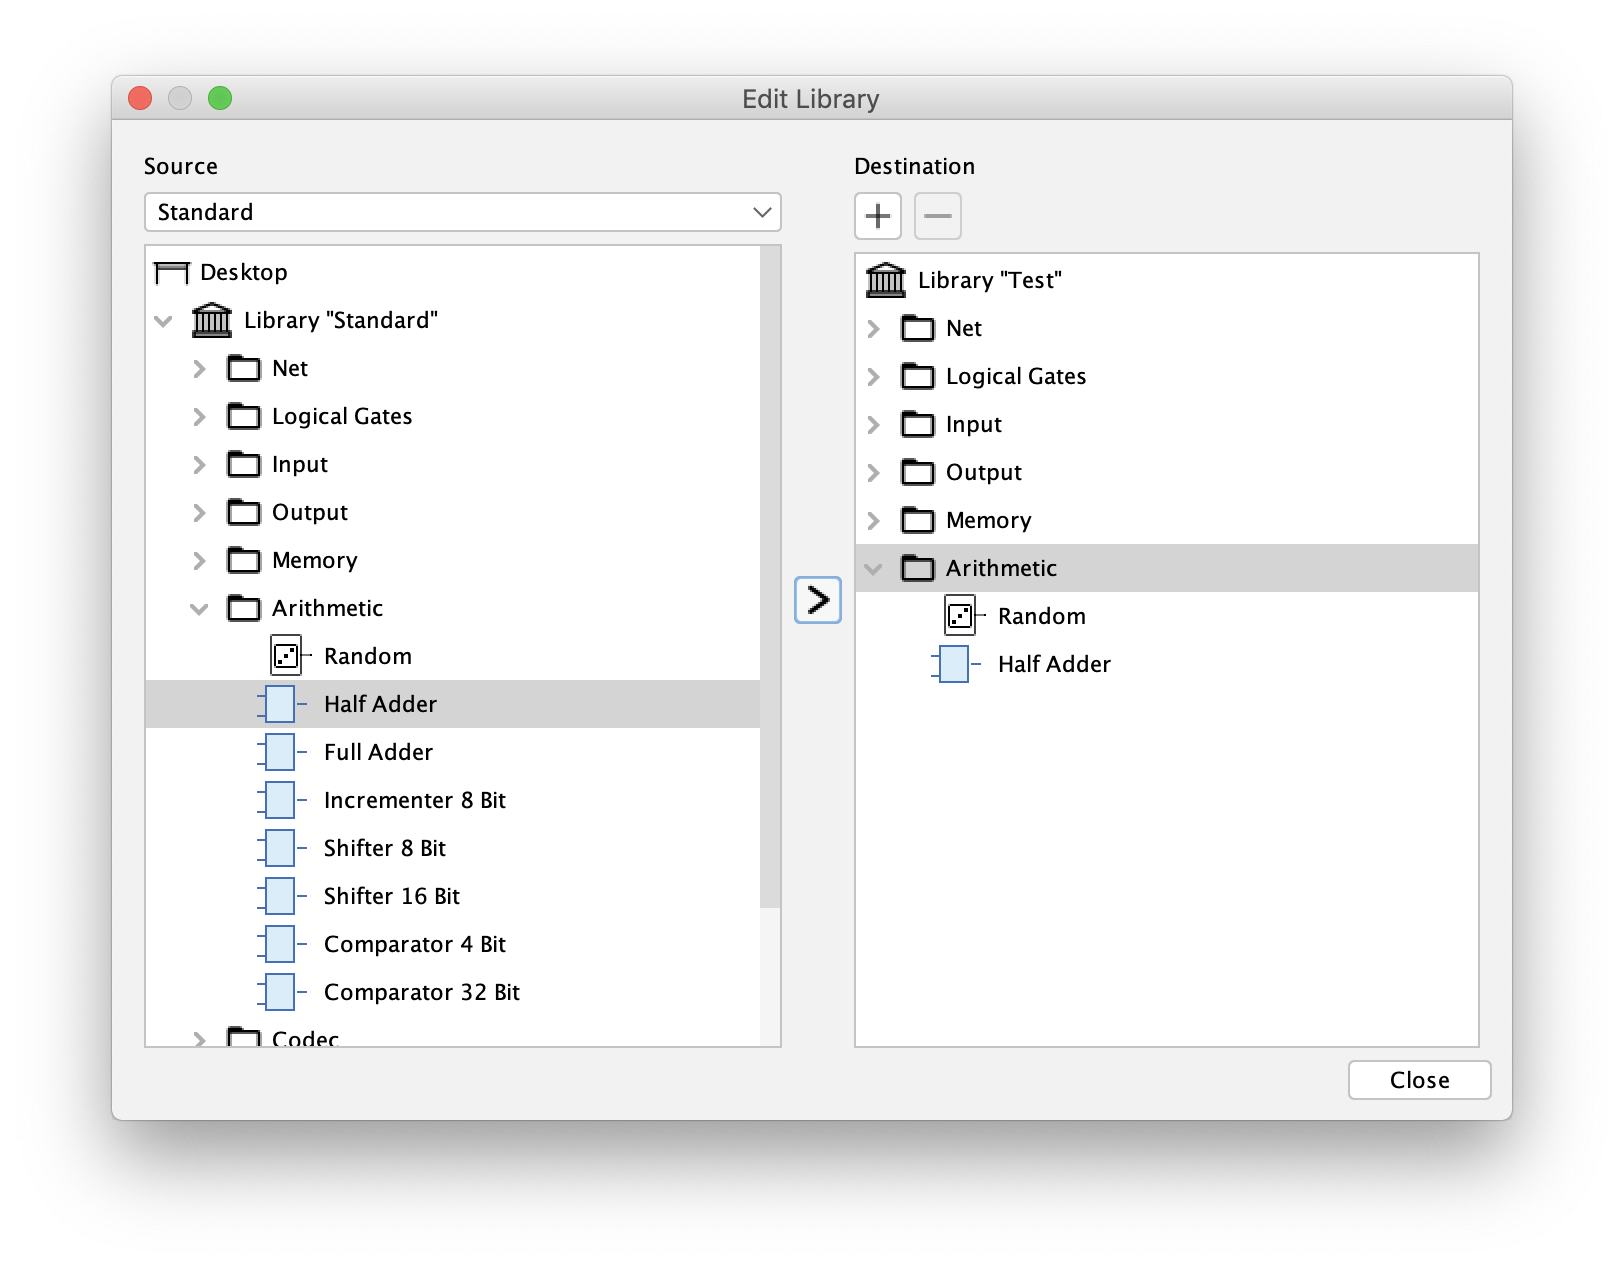
The "Edit Library" window allows you to add more components from all existing libraries to the currently open library. The window displays the source library to the left (the library from which components are fetched) and the destination library to the right (the library to which components are added).
Select the source library from the "Source" drop-down list. Open the directories in the source library, select the component to be added, and press the button between the two windows to copy the selected component. The component will be copied to the directory selected in the "Destination" library.
In the example above, the "Half Adder" of the Standard library has been copied to the "Arithmetic" directory of the current "Test" library.