Starting with version 1.3, Antares allows you to publish your circuits in your own web pages. This can be useful for teachers or authors of textbooks who want to create online content with embedded, runnable circuits.
Publish your circuits by following these steps:
-
Create a free account in Antares Web
-
Upload your project to "Antares Web"
-
Embed a circuit in your own web page
Create an account
Publishing your circuits requires that they are stored in a cloud storage from which they are fetched for being displayed in your web page. Before you can upload your project to the cloud storage, you need to create an account.
Go to Antares Web and use Register to register a new account.
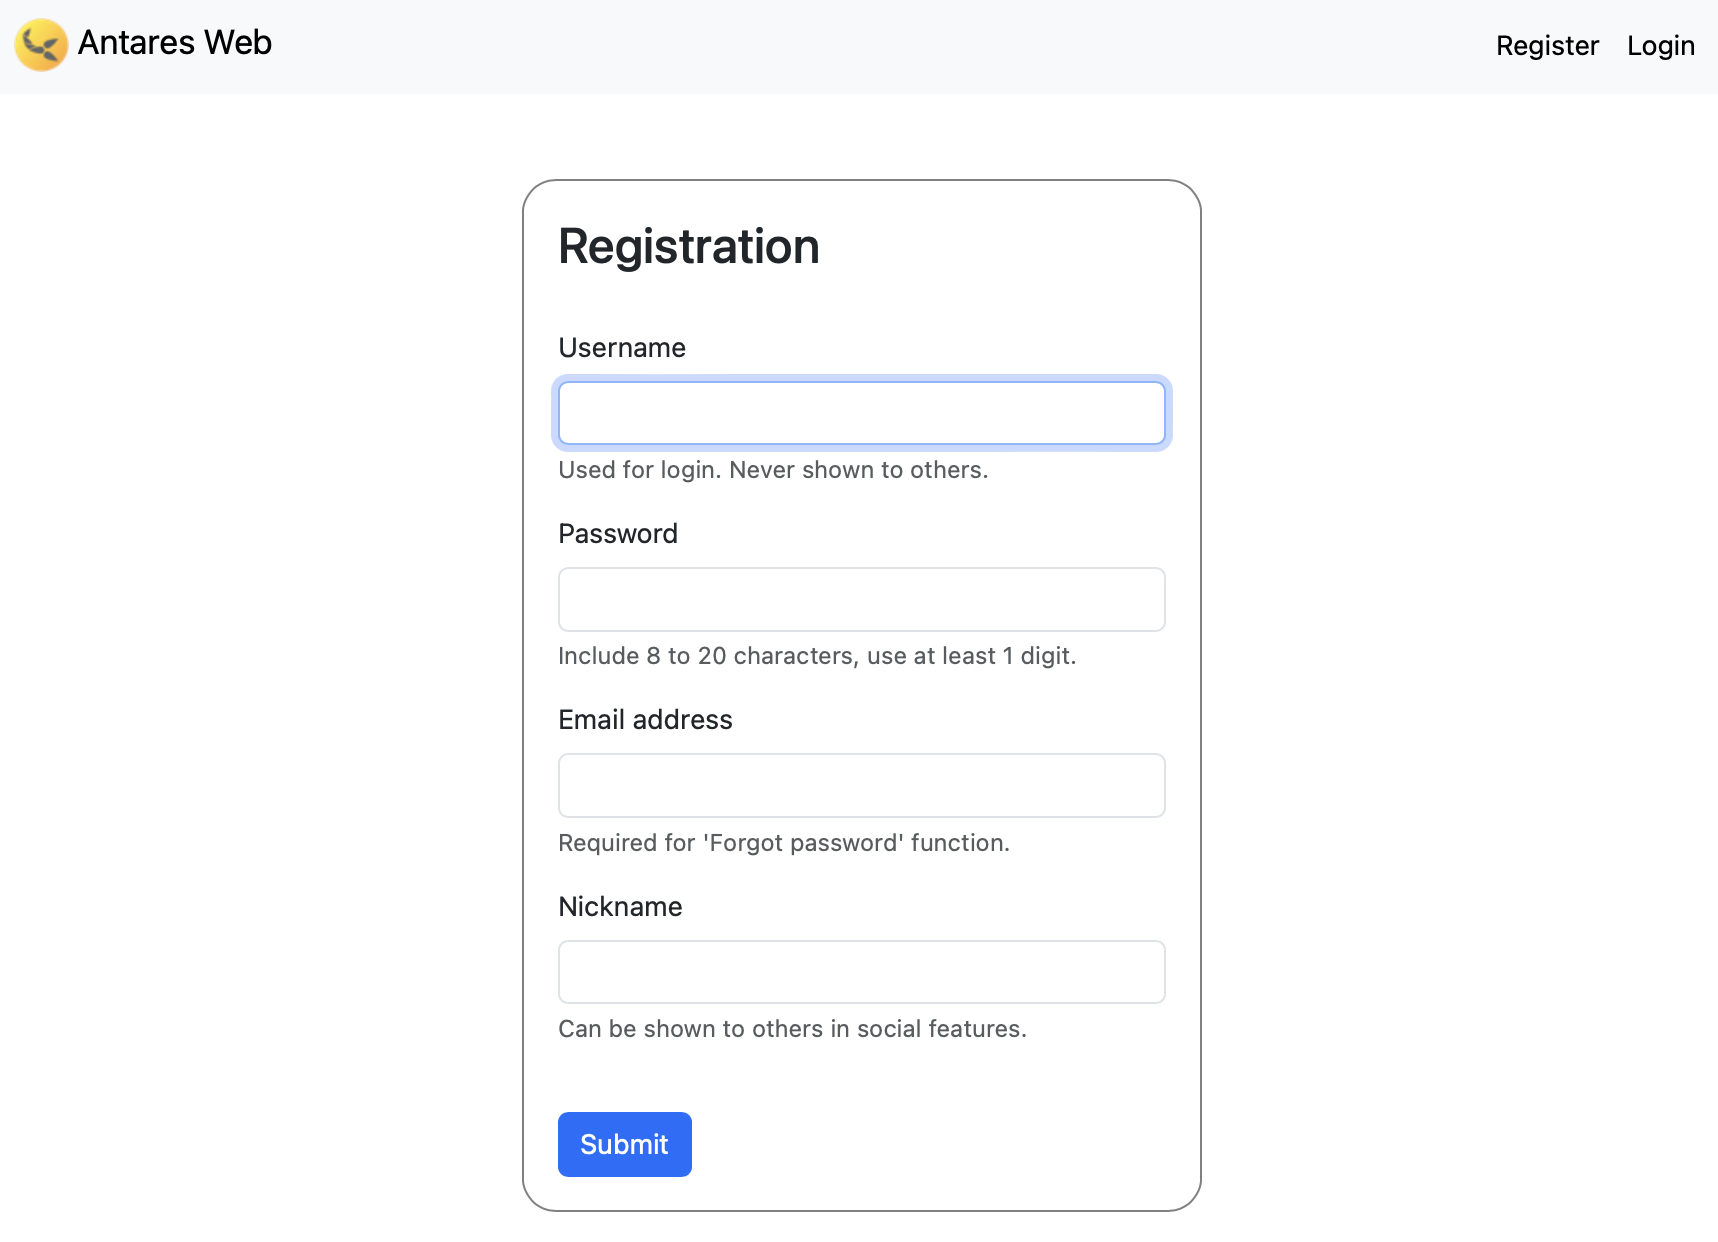
After filling in a required fields and submitting the form, Antares sends you an email with a code to the email address you’ve entered. Provide the received code to complete registration.
After registration, you can login to "Antares Web", but other than viewing your profile and the list of projects you’ve already uploaded, there is not much functionality there yet. There will be more soon, such as editing your projects in the browser, or seeing what other users are doing with Antares.
- TIP
-
Remember the username/password you’ve registered as you will need them to login in "Antares Desktop" to upload your project.
Upload your project
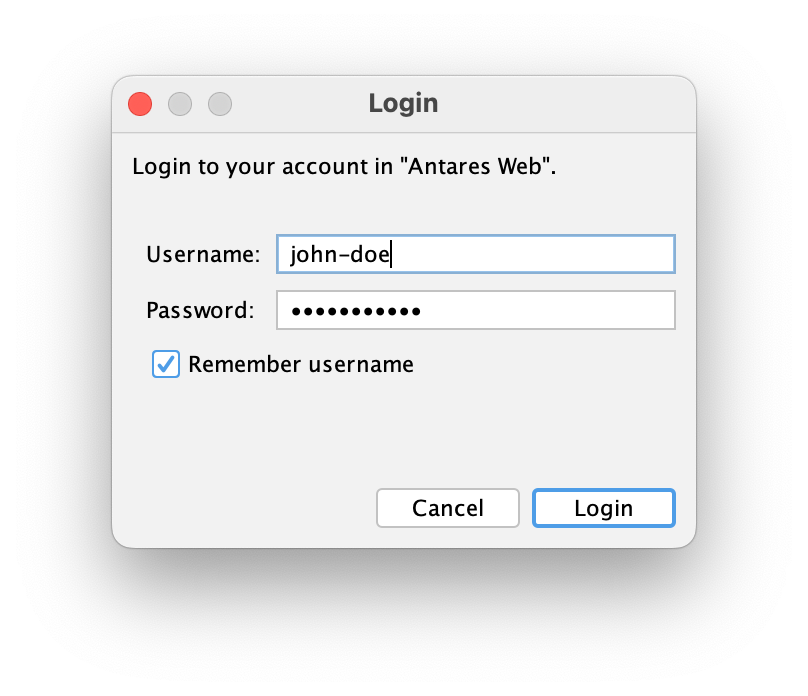
Before you can upload a project you’ve created in Antares Desktop, you first need to log in. Choose or the button Login at the top-right edge of the main window. Enter the username/password you’ve registered when creating an account in "Antares Web".
Before you upload your project, you have to make sure the visibility property of your project matches with what you intend to do. Open your project and display its properties by on the project in the explorer.
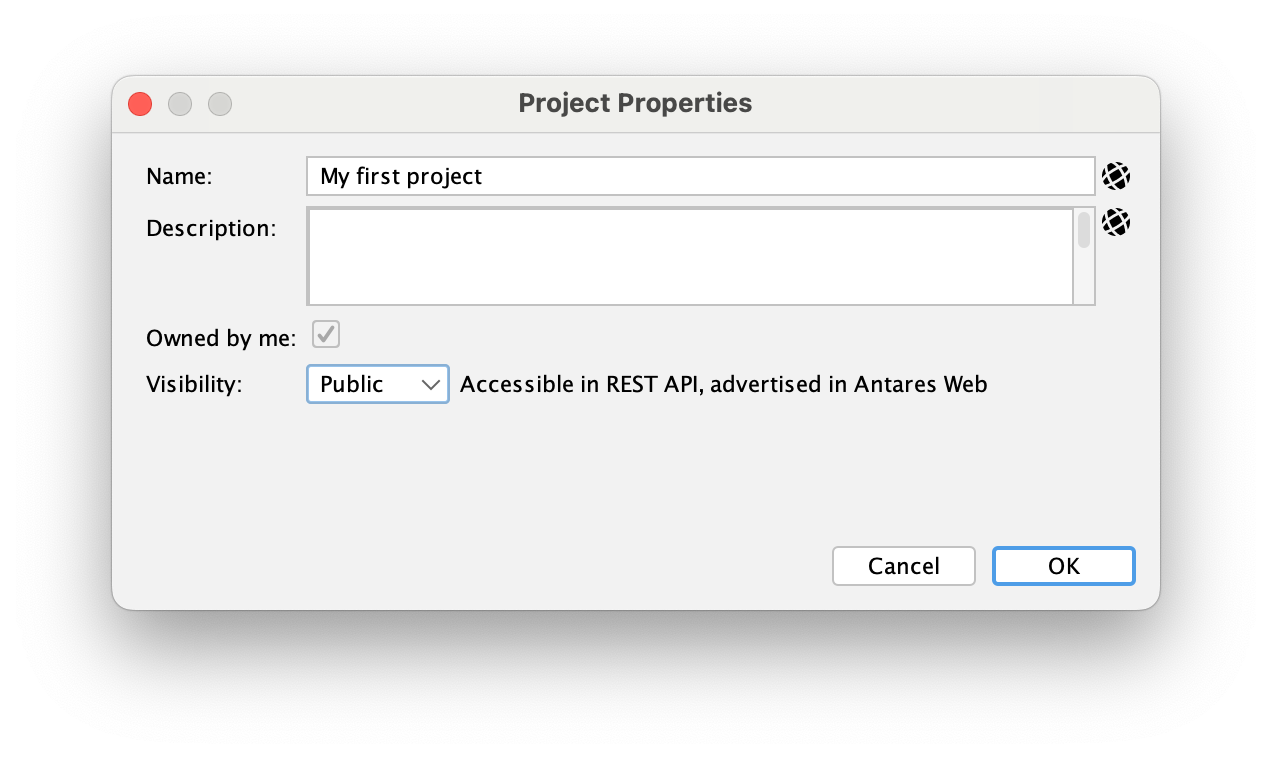
To publish circuits from your project in the web, the property "Visibility" must be set to "Public" or "Hidden". "Private" projects are not visibile in cloud applications.
After you’ve checked the visibility, you can select the project in the explorer and to upload the project. Antares shows a warning that uploading will replace any data in the cloud store related with this project. After confirming, your project gets uploaded.
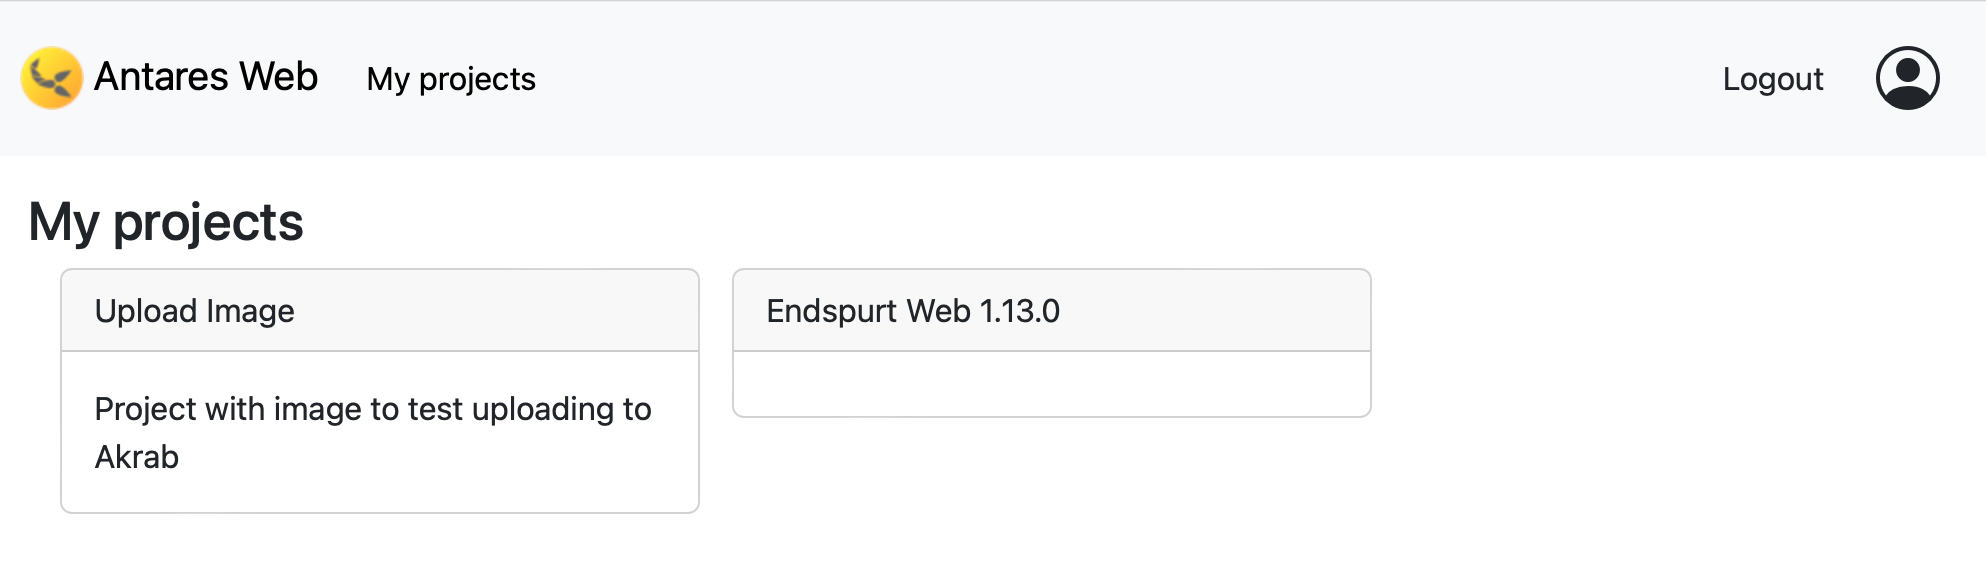
Login to "Antares Web" and select My projects to see an overview of the projects you’ve uploaded.
- NOTE
-
In order to limit cloud costs, the number of projects you can upload and the number of circuits in a project is restricted. Contact us if this limit inhibits your use case.
Embed circuits in a web page
Once you’ve uploaded your project to the Antares cloud storage, you can embed circuits from that project in your own web pages.
Currently, only embedding as HTML <iframe> is supported. Other methods will follow in the future, such as Angular components.
Open your project in Antares Desktop, select the circuit you’d like to embed in your web page, and to open the "Embed" dialog of the circuit. Copy the content snippet from the "HTML <iframe>" tab and include it in your web page.
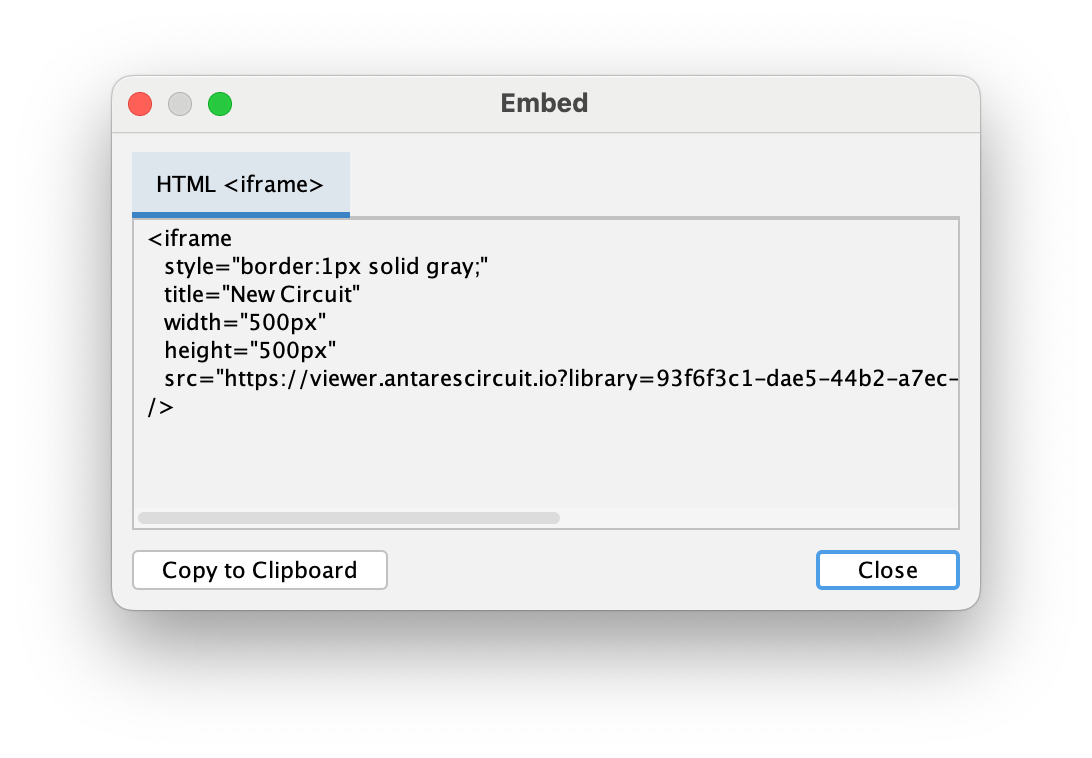
The way you include the snippet into your web page depends on its type. For plain HTML or Markdown pages, you can simply include the <iframe> snipped as-is. Other page types might require some adjustments.
The <iframe> snipped generated by Antares downloads a viewer application from viewer.antarescircuit.io and asks it to display the circuit according to its ID.
- TIP
-
You can also adjust the "width", "height", "title" and "style" attributes of the
<iframe>element according to your needs.